Spline Based Systems
Splines are much more than just spaghetti.
In this article I will share some generic info about spline based systems. This article will focus on the Unreal Engine spline system but the main idea will work in other applications too.
Main concept
Systems usually have inputs that will then lead to end results. These inputs can vary a lot from numbers to more artistic methods. Basic primitive models can also work as an input or some basic colliders like spheres and boxes. Not many might know this but splines are also good input methods for many things.
What are splines
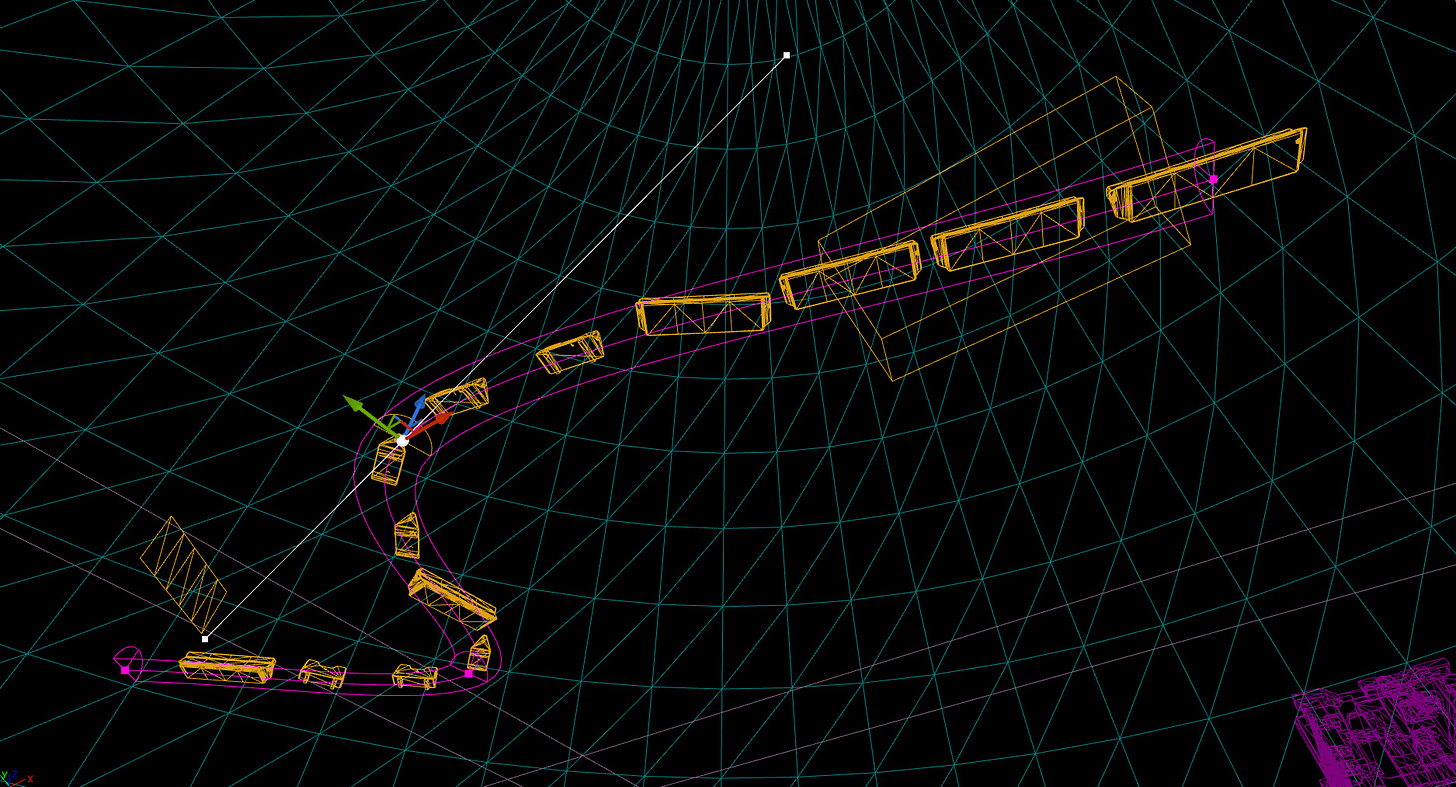
In Unreal Engine we usually think of splines as spline meshes but that is only one of the ways to use that base spline data. Splines are basically just a few control points in 3d space that are connected together. This forms curves that can be smooth, linear or something between these two. Splines are not that expensive either because of this.
That’s why splines are optimal for organic shapes. It’s very artistic friendly to create and edit them. As mentioned before, splines are curves that means we can take any point along that spline and then do something about that. Usually this is a transform value that we can use to add meshes, shoot line traces etc...
One input to rule them all
The more inputs you have, the more complex your system will become. That’s why I usually like to think of some sort of input hierarchy where there are base inputs and some finer inputs that can be changed if needed. Spline is a good base input because it can be any shape, it can follow the environment, form circles, rectangles etc.. That’s why it will be the base that other systems will follow.
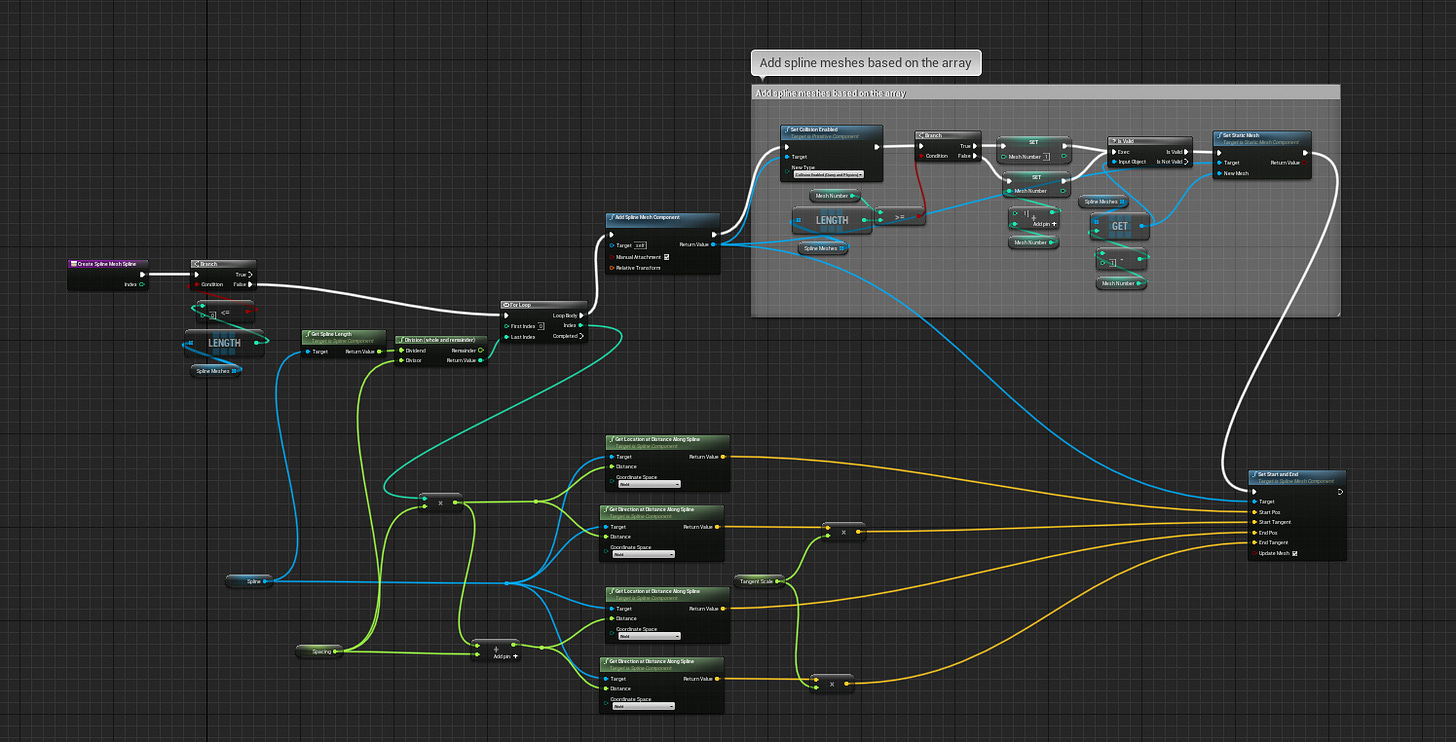
You can use splines to create spline meshes for things that need to follow and deform based on the spline or you can add static meshes, HISMs or even actors along the spline too. You can use one of these methods alone or all of them at the same time. It can end up being a very powerful way to tackle all sorts of things. Let’s dive deeper.
Using instanced meshes with the spline system
Spline mesh is a good solution if your models need to follow splines very accurately. Most of the time that is not really needed and then we can use other methods. Using instanced mesh is a more optimized way because then we can batch meshes better. I wrote more about that here.
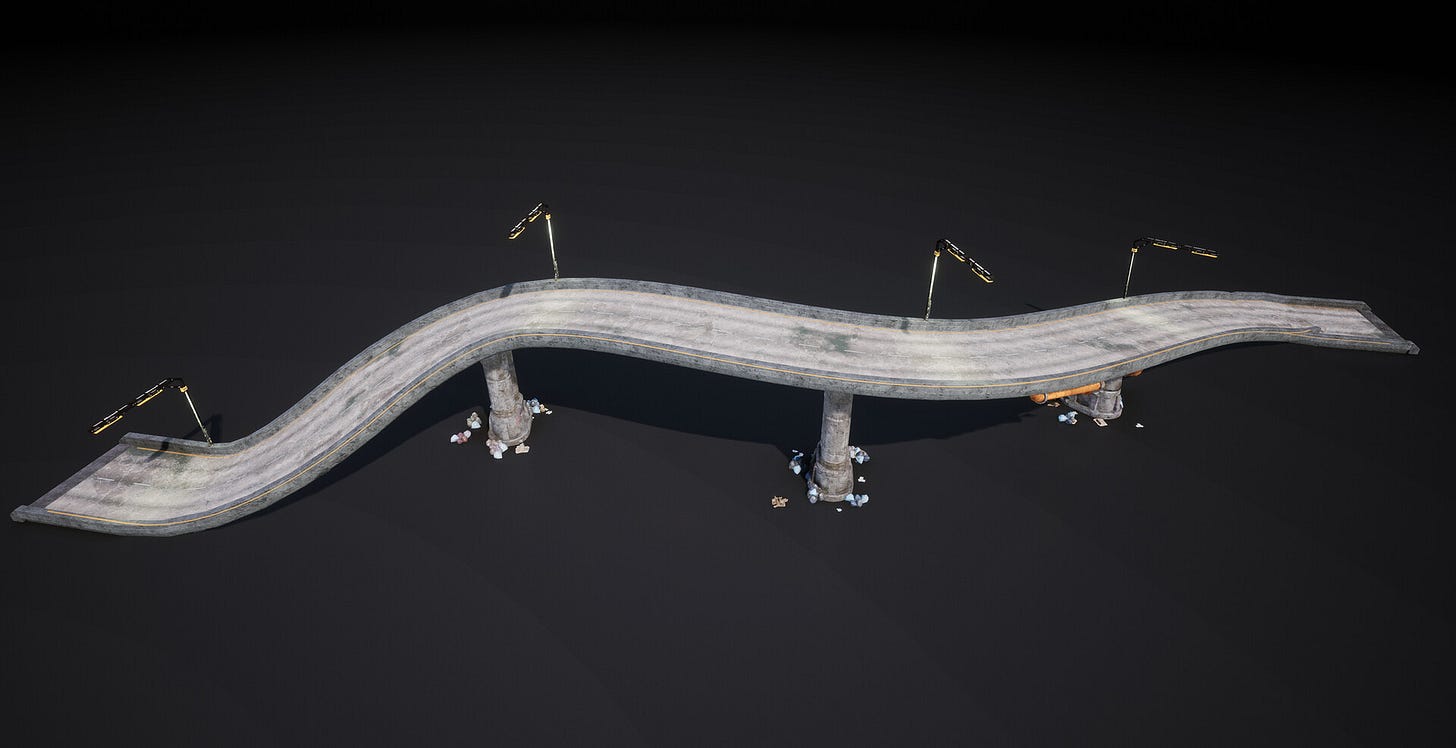
One example can be this bridge actor. Spline meshes are used to bend middle parts but then there are HISMs being used for pillars and even street lights. This way the system will use methods from both worlds. Things that need to bend will use spline meshes and things that don't need that will use instanced meshes. It still uses one single spline as base input so it’s very fast to create bridges.
Using child actors with the spline system
Because spline data is just a bunch of transforms on a curve, it also means we can spawn all sorts of things that follows it like actors, particles, sounds. Usually it’s a good idea to also include an offset value so there is even more control where the actors will be placed. Obviously actors can’t be batched together in the same way that HISMs can so performance impact is higher when using actors.
Scattering debris with the spline system
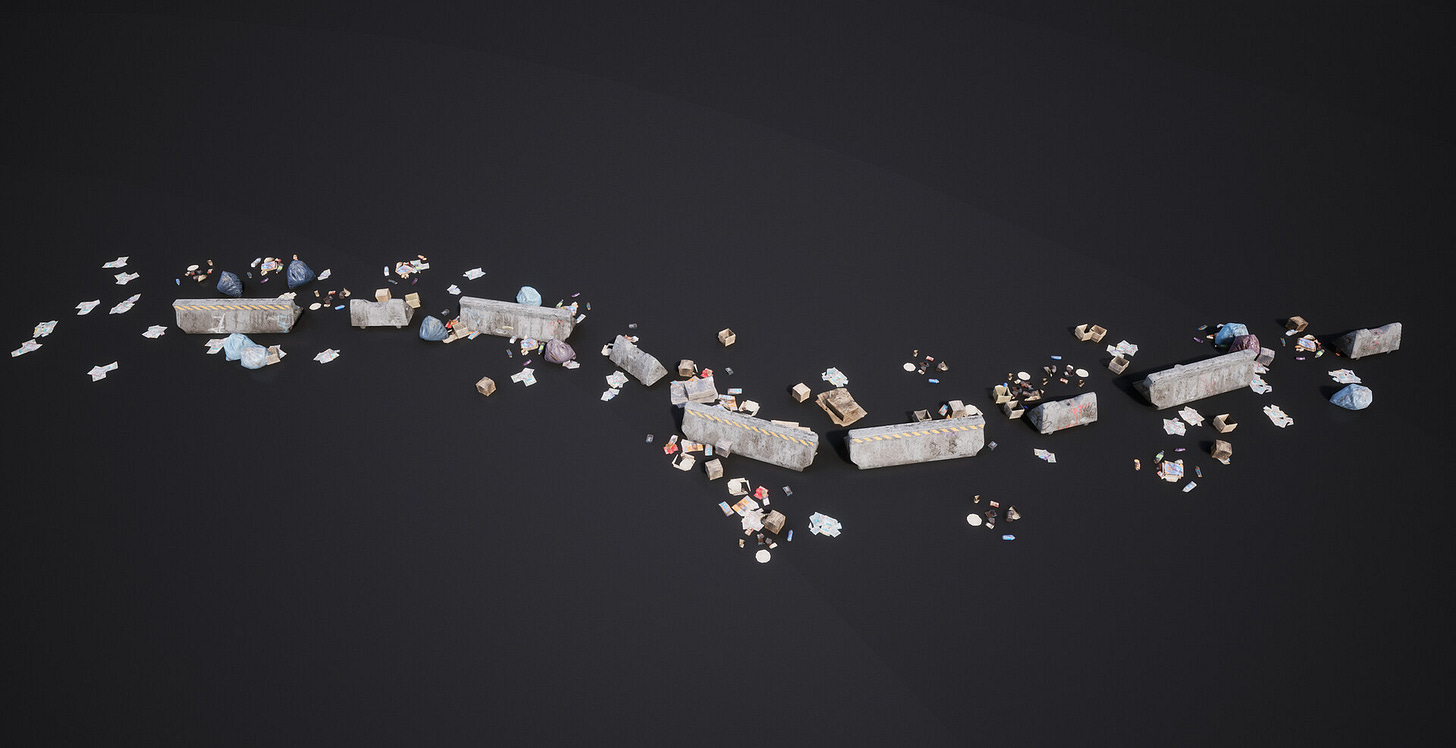
My previous article described a very generic scattering system that you can also use with splines. That system used a certain scattering area with density control but with a bit of imagination we can plug that to follow the spline.
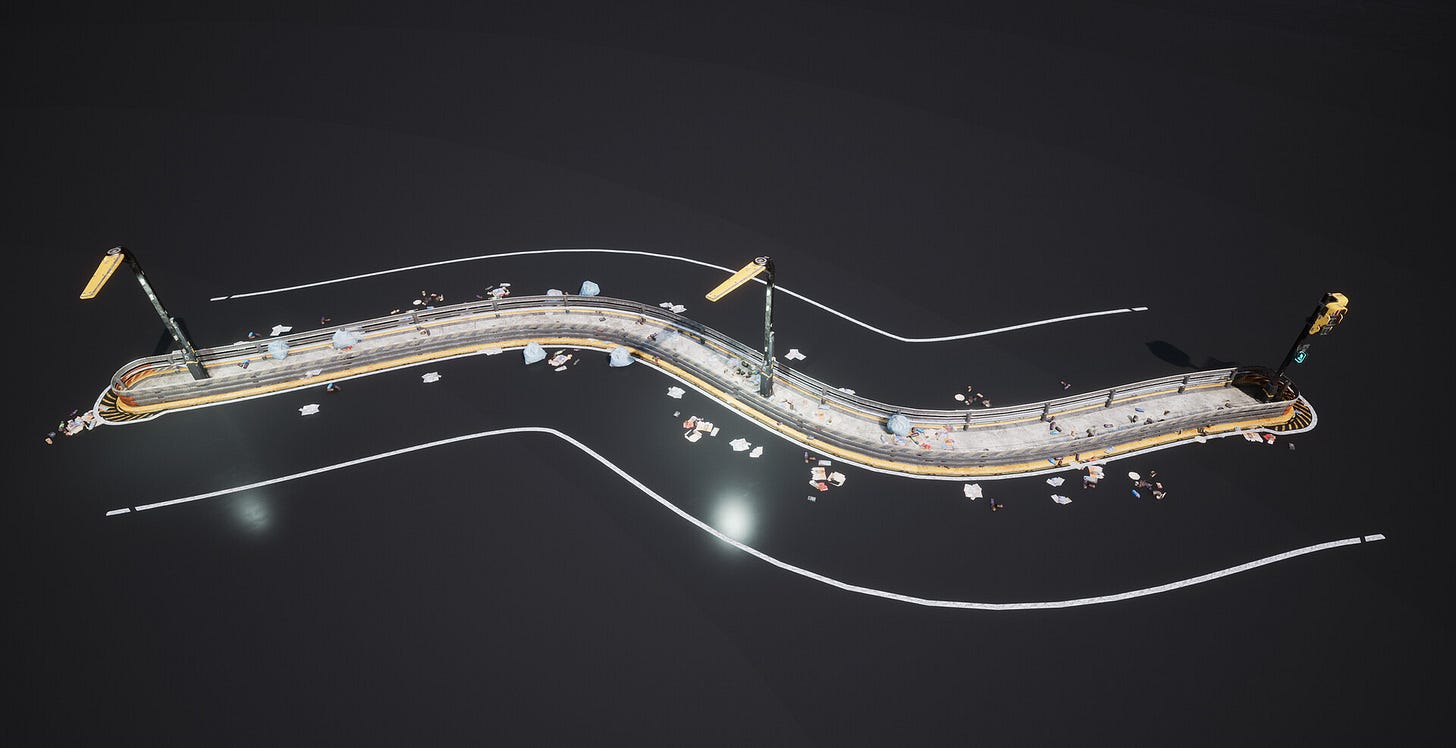
We can simply let the scattering loop to run and then move that a bit further along the spline and do it again. This way we can control how many times this will happen along the spline and when that happens, how dense those results would be. Automatic HISM logic will make sure those meshes are instanced nicely to keep performance optimal. This is a good example of how you can stack blueprint logic together and form very interesting tools.
Move objects along splines
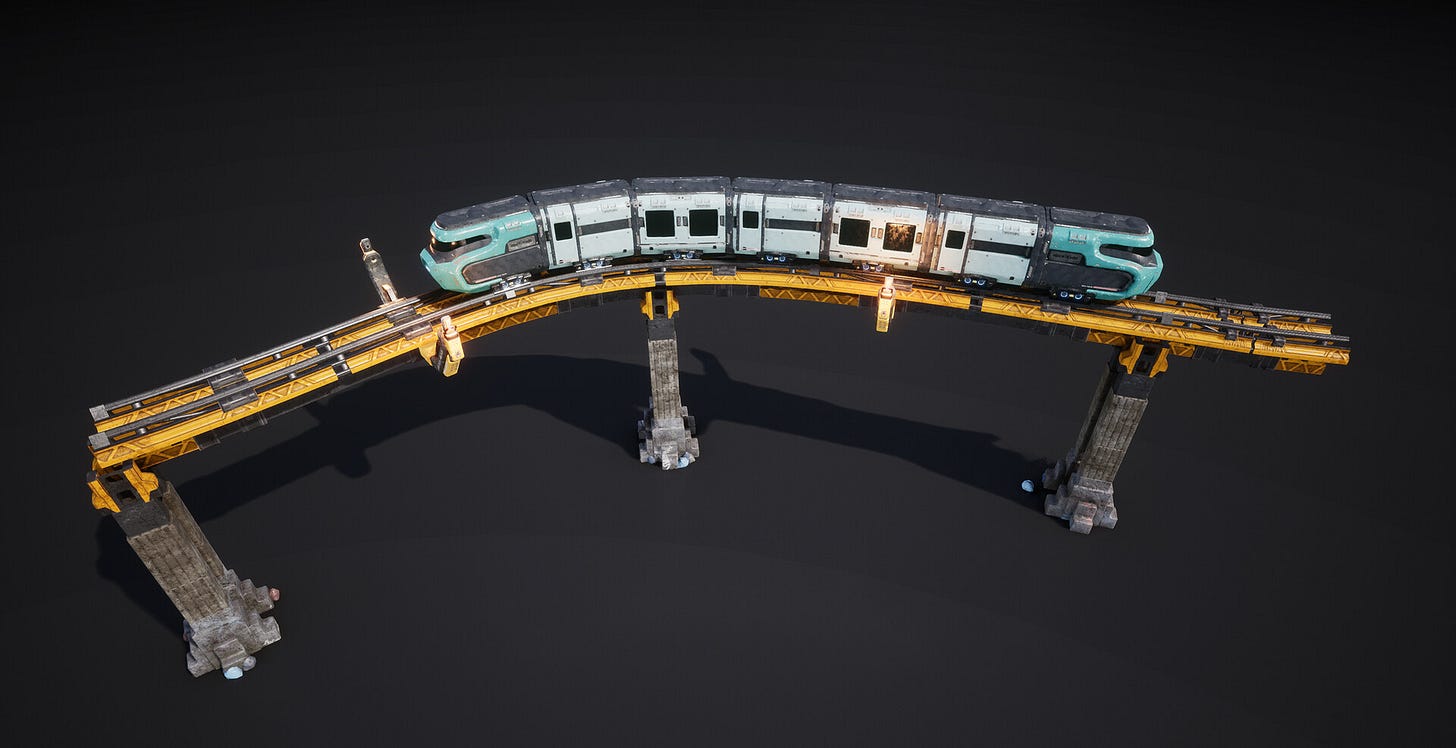
Naturally you can also move things along the spline at runtime. A good example would be a train like this one from the Cyberpunk pack.
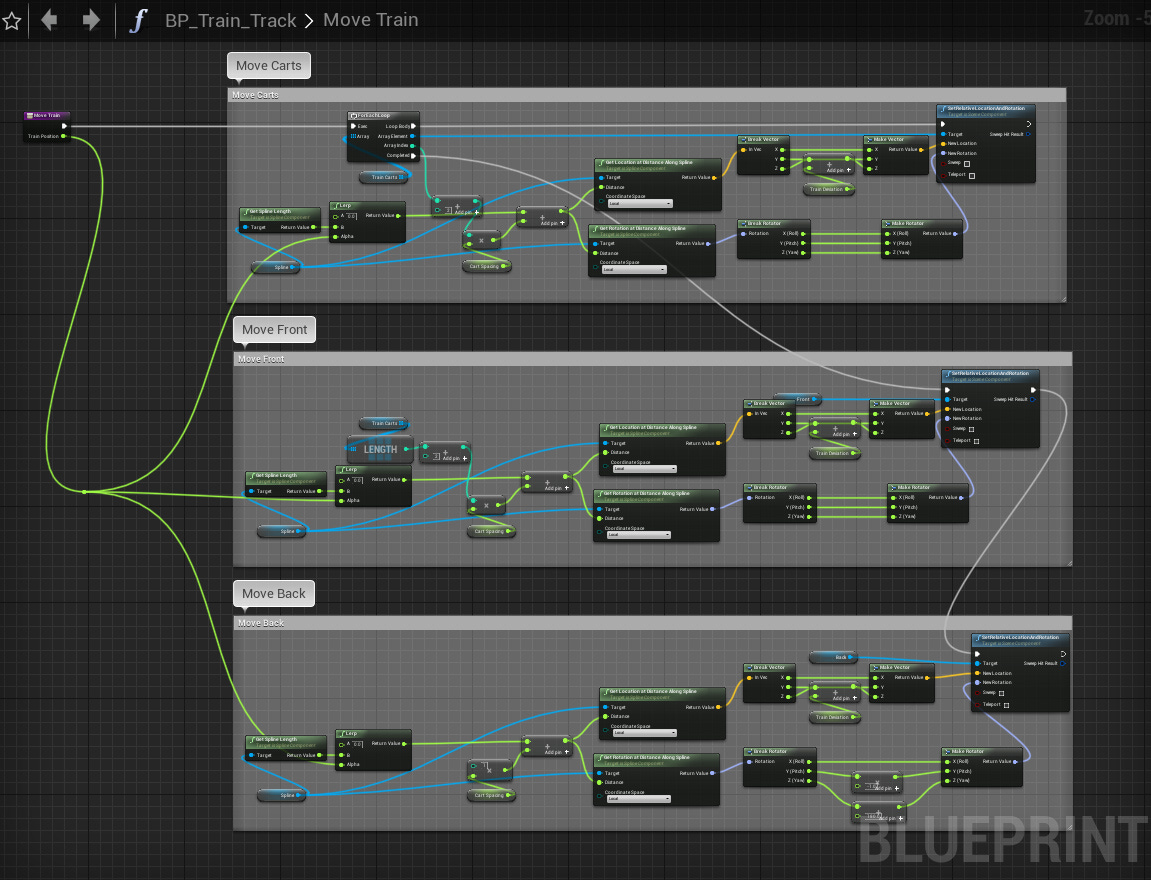
It’s easy to do this actually because we can lerp objects based on the spline length. Value 0 would mean the start point and then the end point is equal to “Spline Length” node’s value. Then we can create a timeline node and create a curve from 0 to 1. Train speed is then equal to that timeline playback speed.
These are just a few examples of how you can work with splines.
Until next time,
Kimmo K.
You can also find me in the following places too:
UE Marketplace Artstation Twitter Facebook Youtube


