Creating post apocalyptic environments
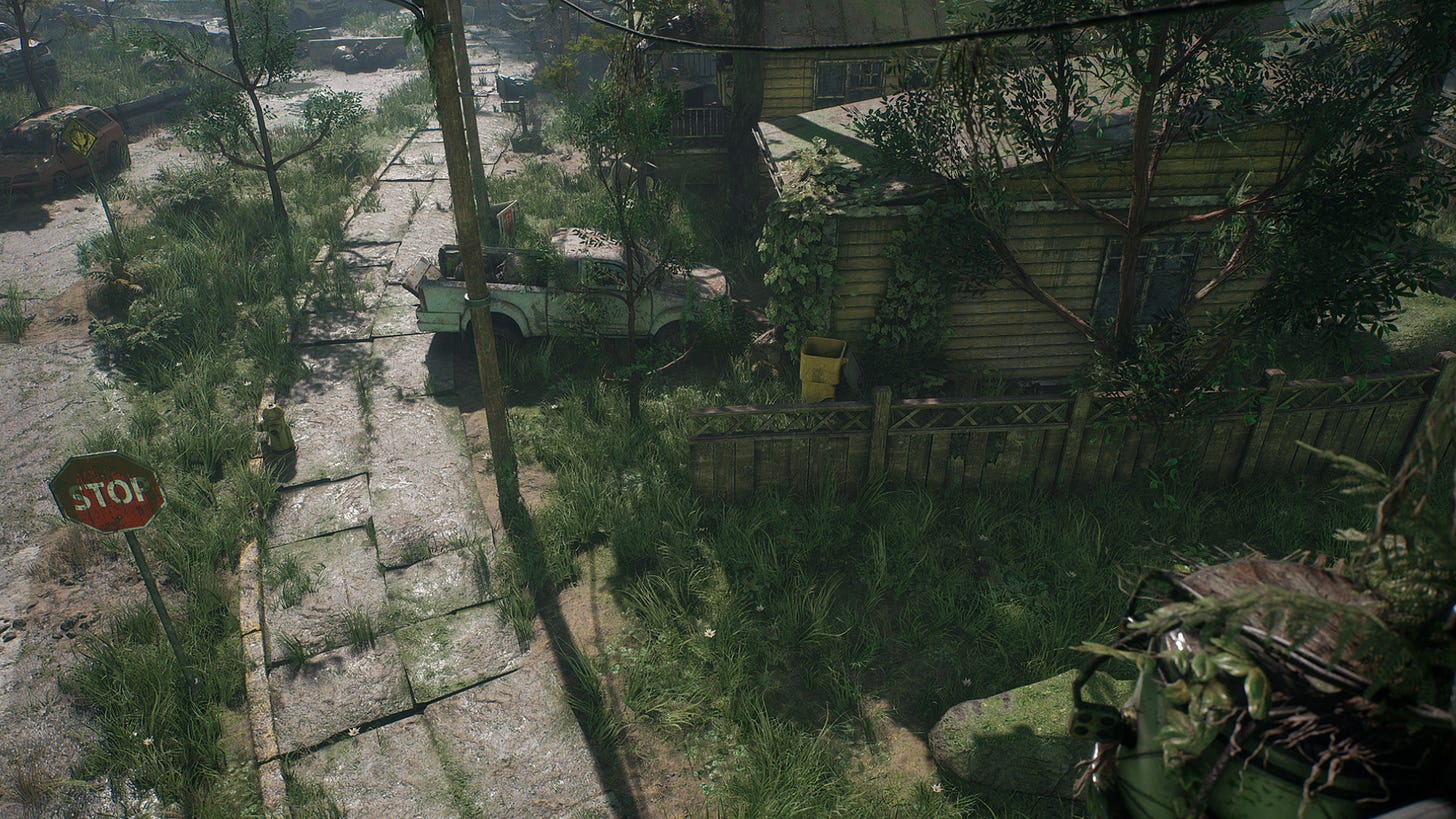
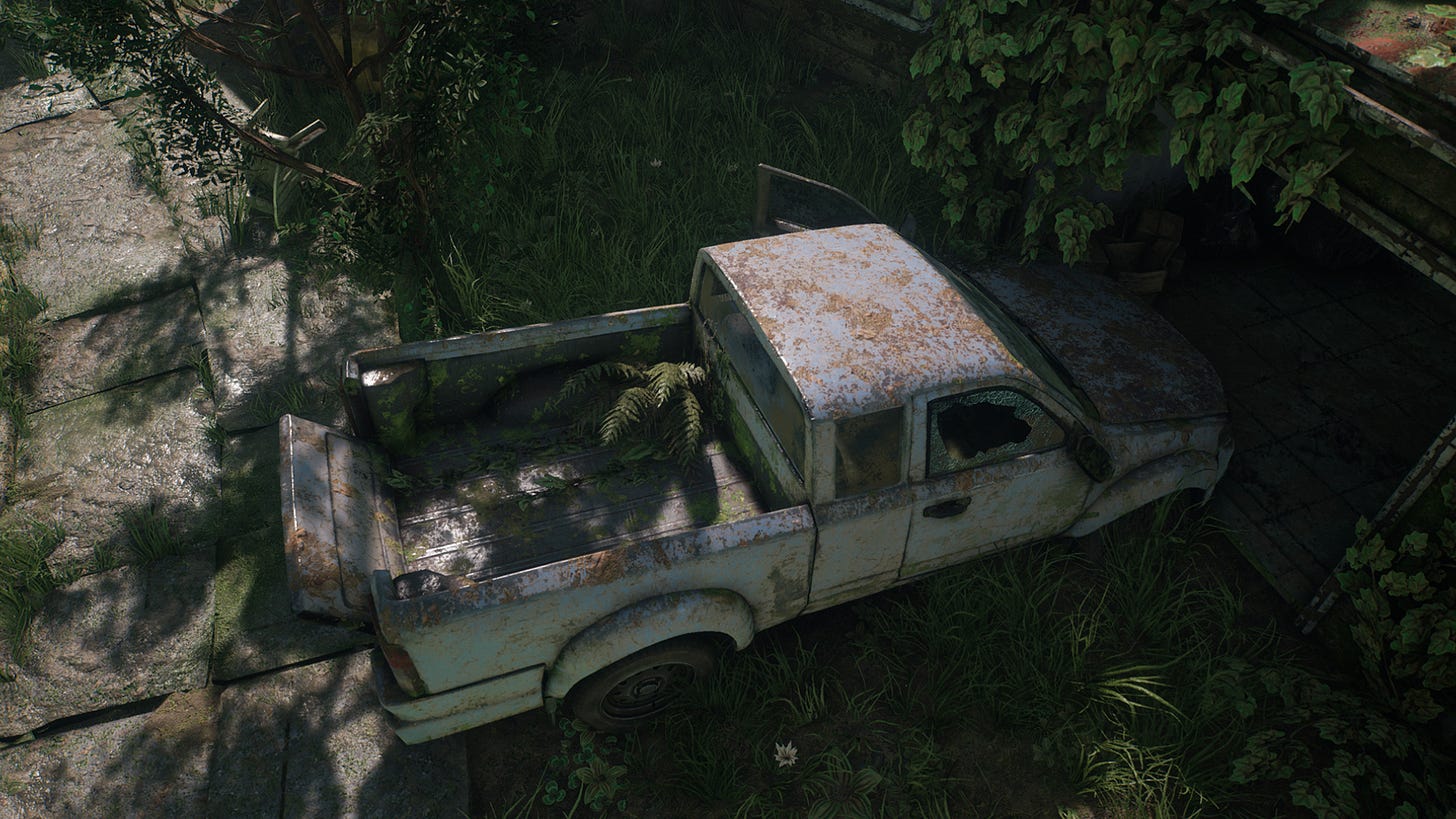
I have always aimed to create environments that are both interesting to look at but are also areas that are totally playable. That means it should run smoothly and it can´t be just a diorama piece. In this short article I will share some concepts how I ended up approaching this environment project. You can get the whole project from the Unreal Marketplace: https://www.unrealengine.com/marketplace/post-apocalyptic-district
Developing tools to help creating environments
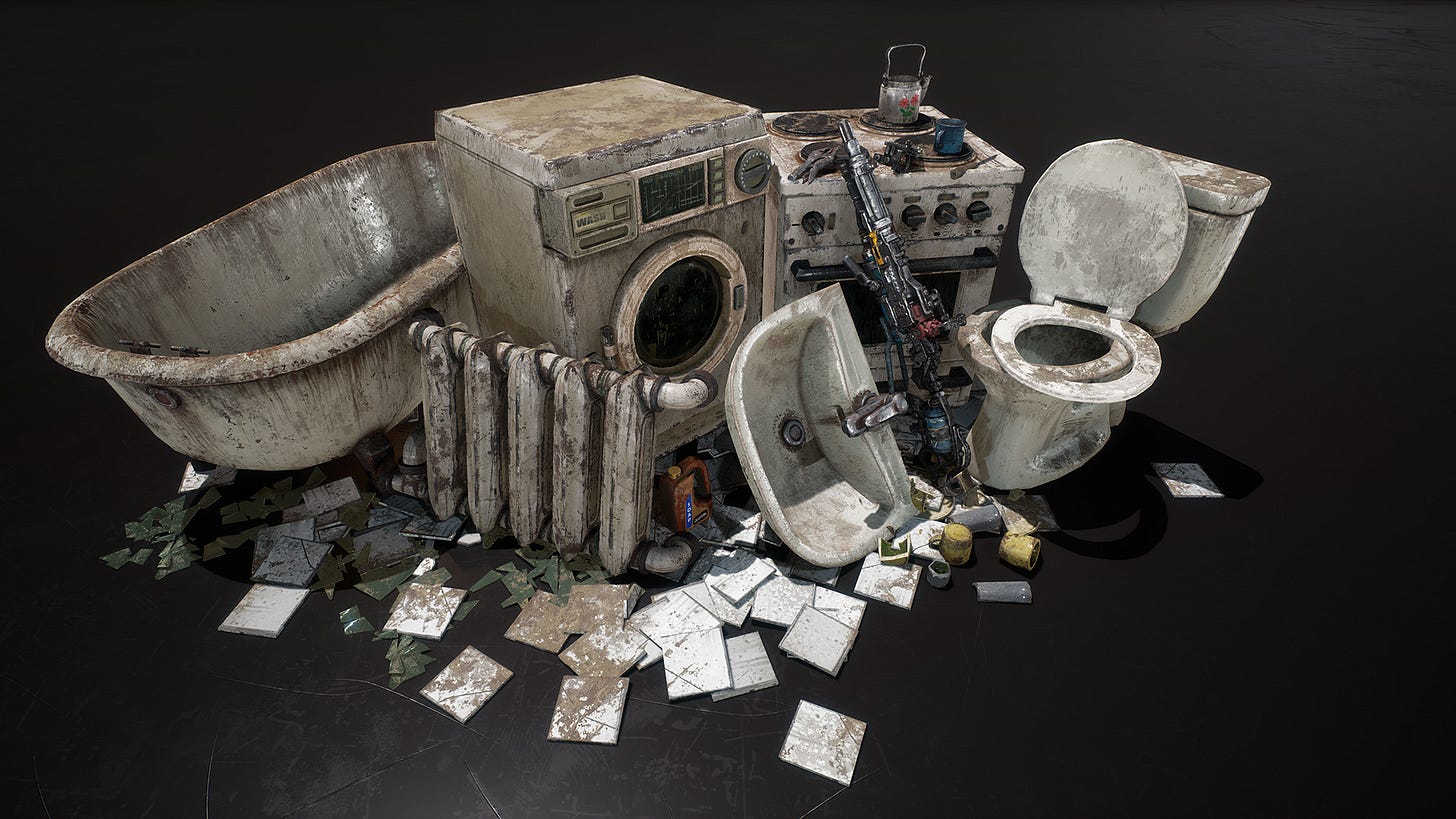
Even a small environment can end up being a huge pile of busy work. Placing small props/debris and doing a lot of different versions of models in order to break the repetition takes time. This is really true with post apocalyptic themed environments. That's why I´ve been doing small little tools that can help me with all of that. Getting rid of the busy work makes it possible to spend more time creating better looking art and speed up the iteration process that is crucial for good end results.
With UE4 it's pretty fast to create different blueprints that are doing things for you. Splines can help with different repetitive tasks like adding fences, roads or even borders for another systems to use. Also the whole nature of splines makes it perfect for creating smooth bezier curves that both nature and man made objects can benefit from. For an artist like me these small tools are usually something that will add meshes into the level and then there is going to be some variables that can help to reduce the repetitive effect to minimal. Basically the best result would be something that looks like someone would have done it by hand.
With these tools there are always a balance between the amount of work it would require to create that tool versus the amount of time and effort it can save if doing that same work manually. It's not a good idea to spend hundreds of hours building a tool that is not going to save much manual work or the end result would be significantly worse than doing the same thing by hand. That's why it's important to do something fast to see if it can work at all and then iterate from that. You can also mix different ideas together and make tools that will do even more like a spline that will create a fence and then around that fence it can spawn rocks and near those rocks foliage like ferns.
Another thing to keep in mind is the performance. When you are adding objects into your level you should ask yourself what would be the most optimal way to do that. Easiest would be to drag & drop static meshes but that will have some “issues”. First thing is that it will increase draw calls and makes it very hard to iterate because then you need to handle a lot of individual meshes. You can still place models by hand this way but there are situations where you can use instanced meshes. There are few ways to add instanced meshes into your level but you should also know the limitations what you can´t do with them. So I would also say that the best scenario is if your tools can also help with the performance by choosing the most optimal way to add meshes.
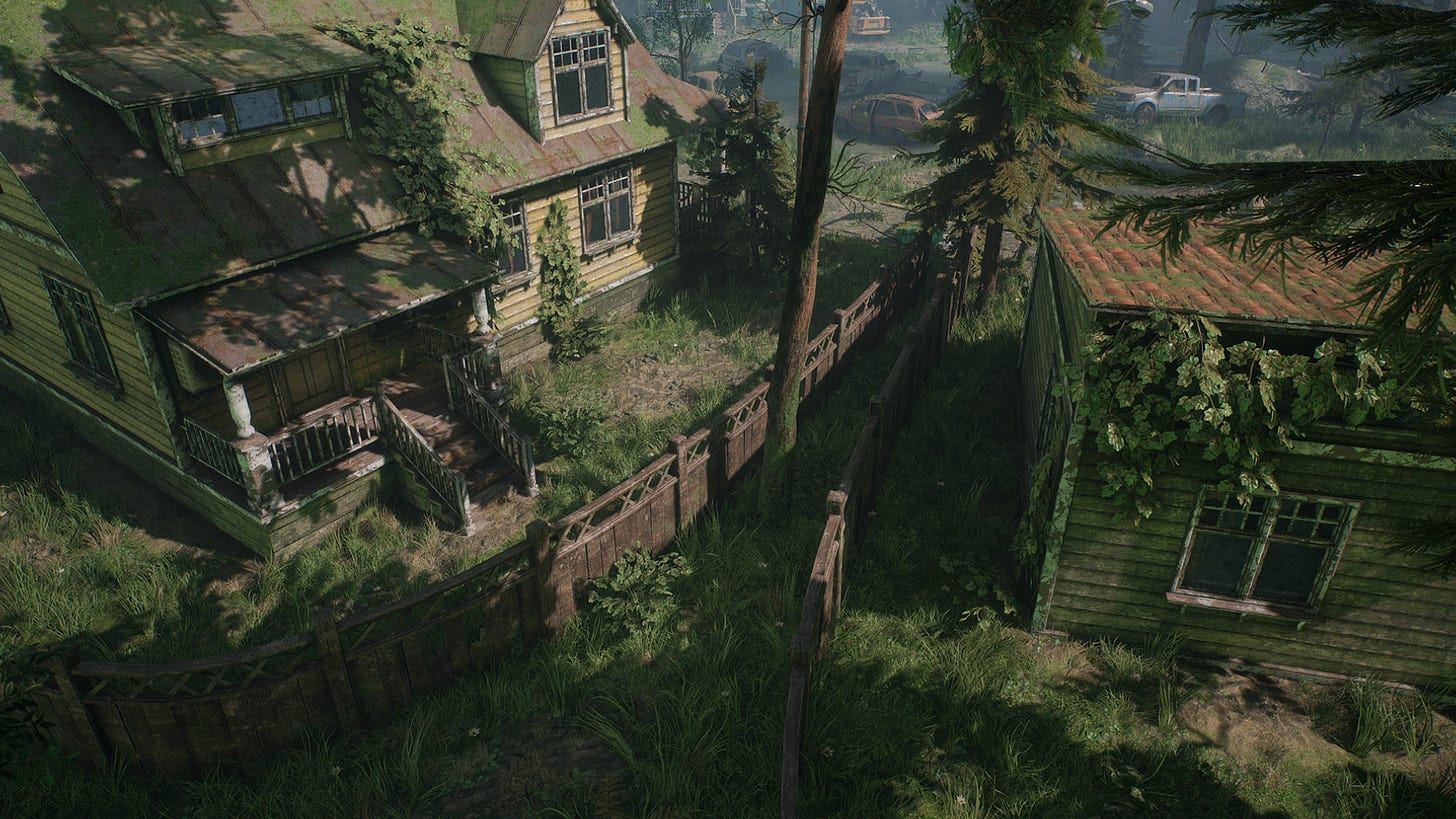
Also when creating something like buildings I would approach that like a system with different layers so I could have a lot of control and also a way to iterate faster. Every building will share some common structures like floors, walls and roofs. That's why I usually create a parent building blueprint that have null components to store different meshes and to help with organizing. By doing that I have more control for wall, floor and roof colors, types and so on. Every building in the level is then inheriting that logic and then I can even create a more building specific controls if needed. This makes it easier and faster to make different color versions and even make some random behavior. Also if for some reason I need to add a new roof type it would be super easy to do in the parent blueprint and then every building is able to use that new roof type. I can also expand this concept further for example adding different triggers, fog volumes, post process so if I need to create new buildings 50% of base work will be already done. Comparing this with a way where you would manually create buildings inside a level by dragging and dropping meshes you would lose a lot of this control and it would be very hard to iterate or make more buildings.
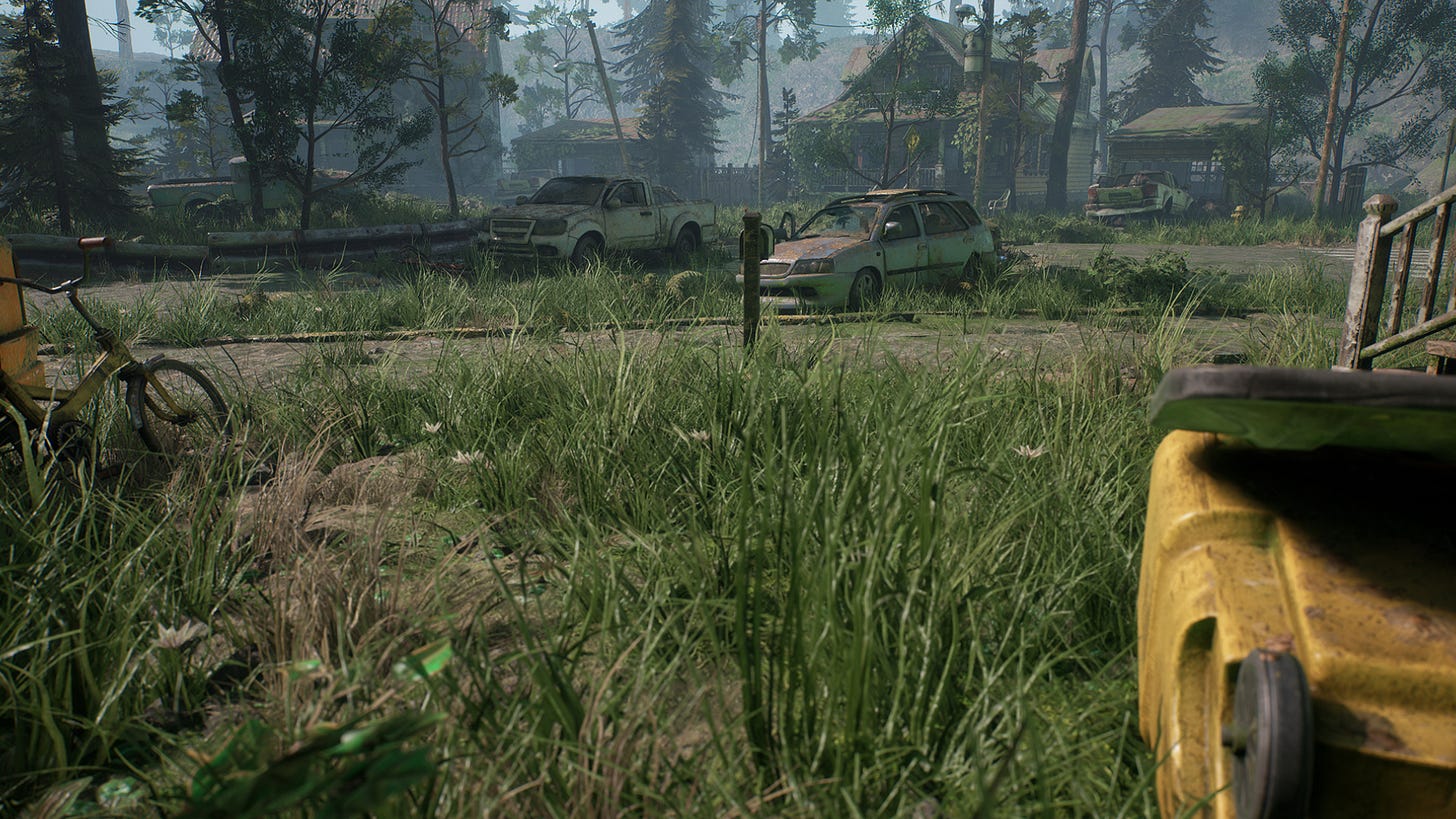
So long story short, there are lots of ways how to add assets into your levels. You can be clever with that and these small tools can help to speed up your working radically so you can then focus on things that really matters for your games.
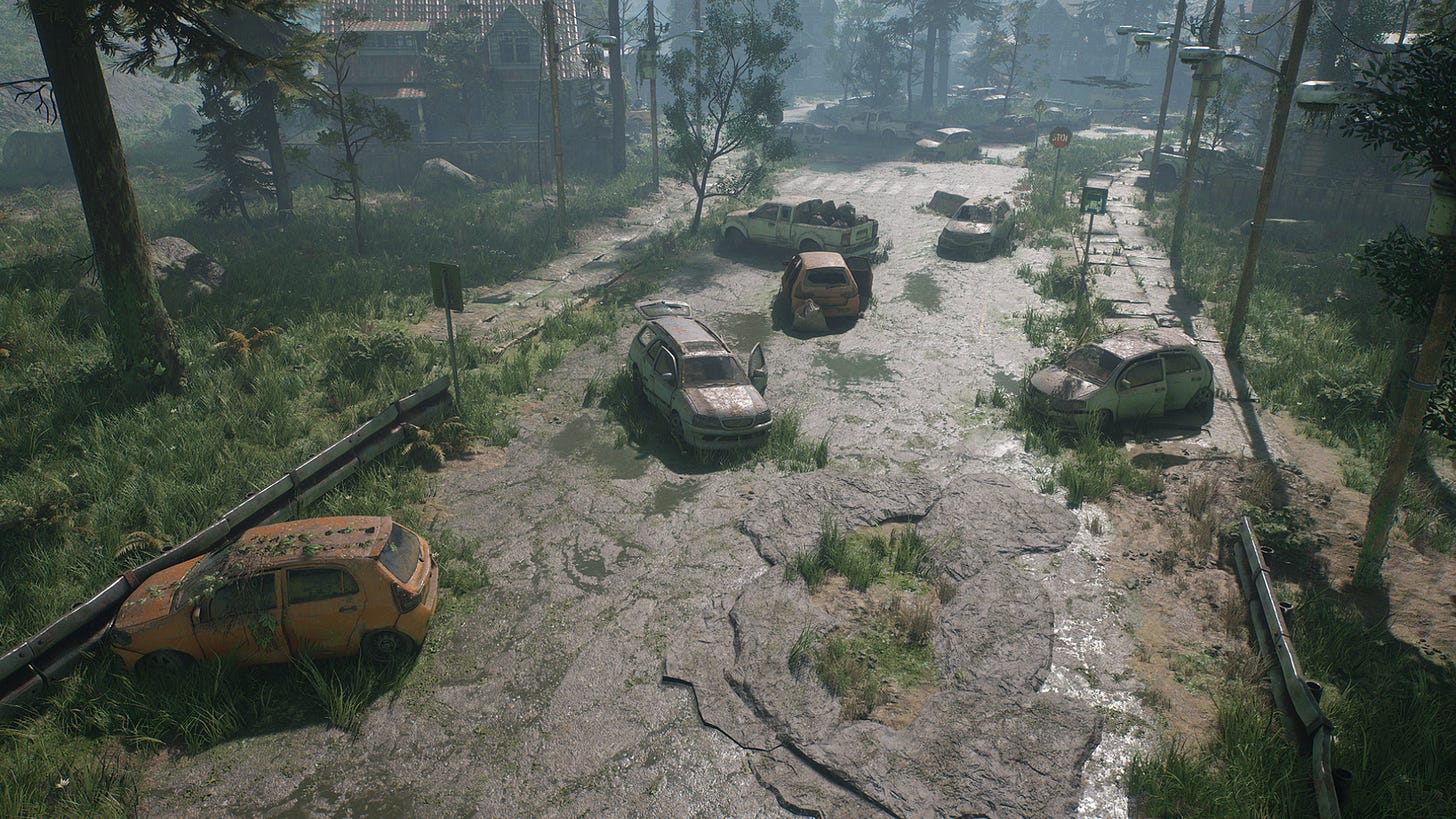
Abandoned cars
Now that you know some “mental” concepts how I like to approach constructing levels I would like to break down the blueprint I made for adding abandoned cars.
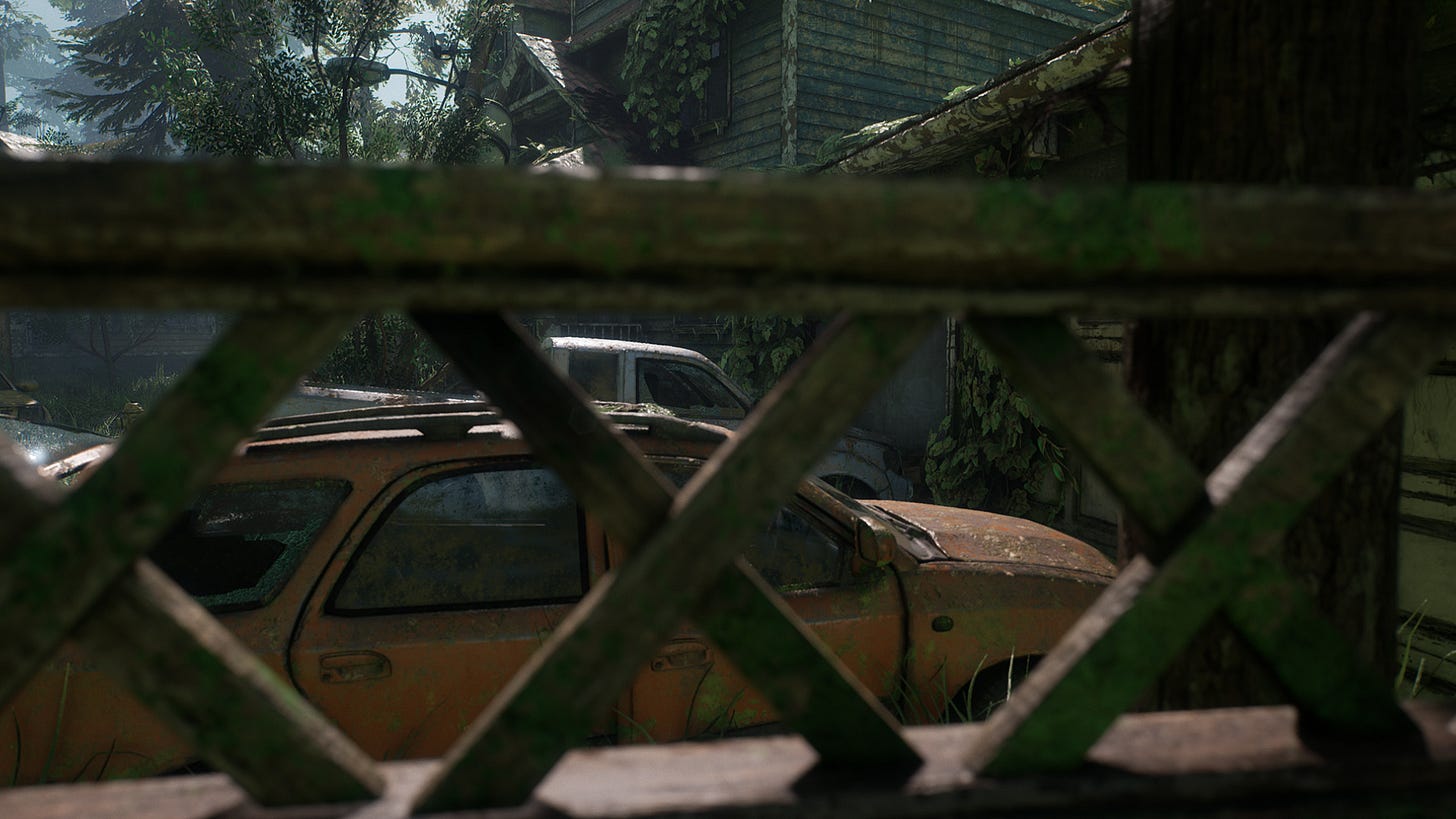
I usually like to use a concept of 3 for adding variations. That is the minimum I think that you need in order to add variations like if you want to have a pine tree, there should be at least three different type of pine tree models so the end results would be more natural. More is better but everything takes time to make so a balance is important here too. Same thing with cars. I wanted to create three different type of cars with every type having three different model variation with all of them having an option to toggle overgrown foliage on or off. On top of this there is going to be a random color for car paints. When combining all of that together it means that there will be good base for a system that will “generate” different abandoned cars.
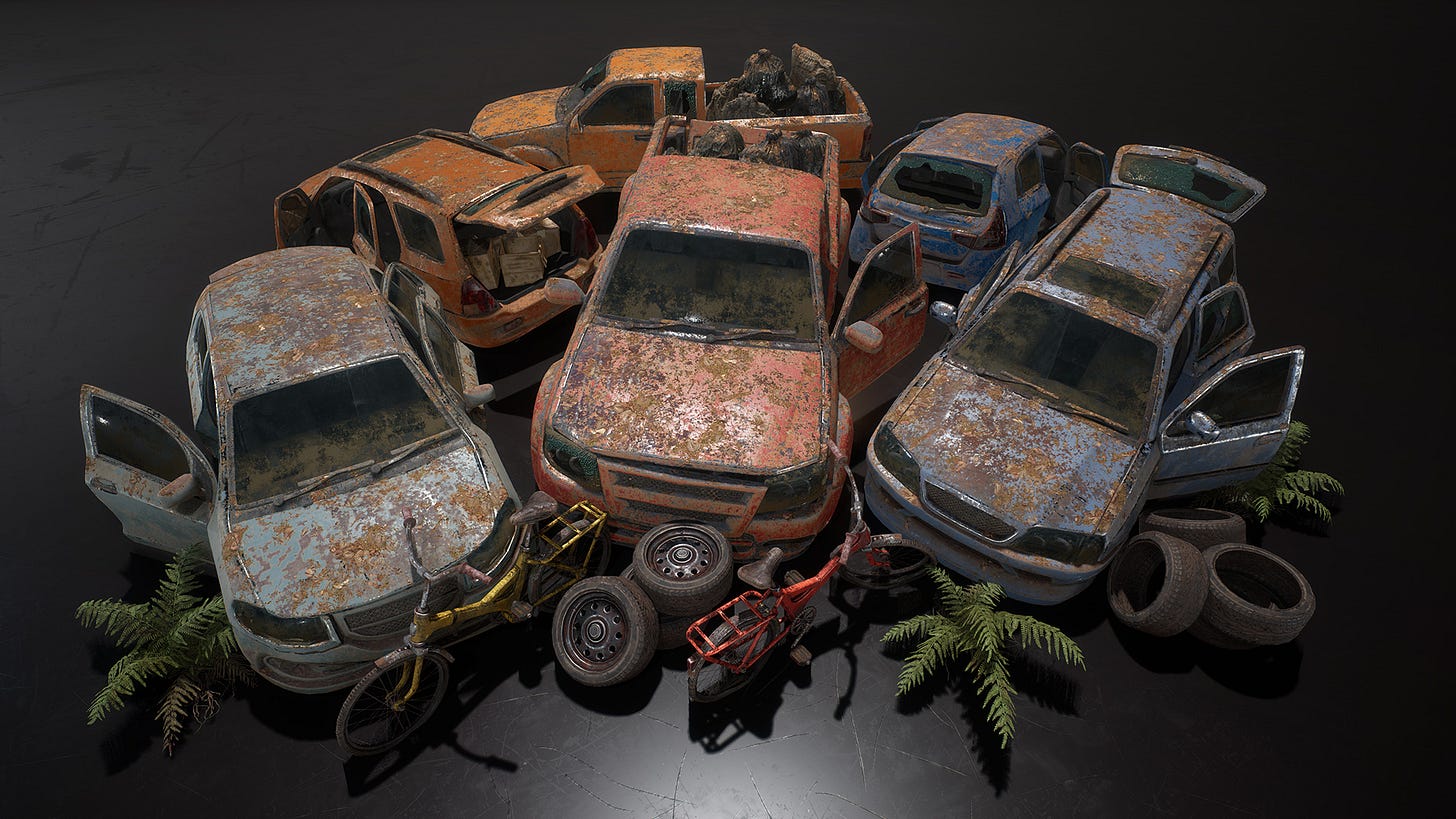
Basically it's a basic blueprint that have static mesh components for the car and its foliage + some public variables that the level designer can change. Then there is going to be an array of different static meshes for every car type. Three for pickup, three for hatchback and three for station wagon. Depending on the car type we will look CarType enum and then change the right array to be the active one. Then we will figure out what mesh variation is going to be used. In this case we want it to be random so we are going to look how many items that array have so we can figure out the range and then we will just take a random integer that will return a random car mesh.
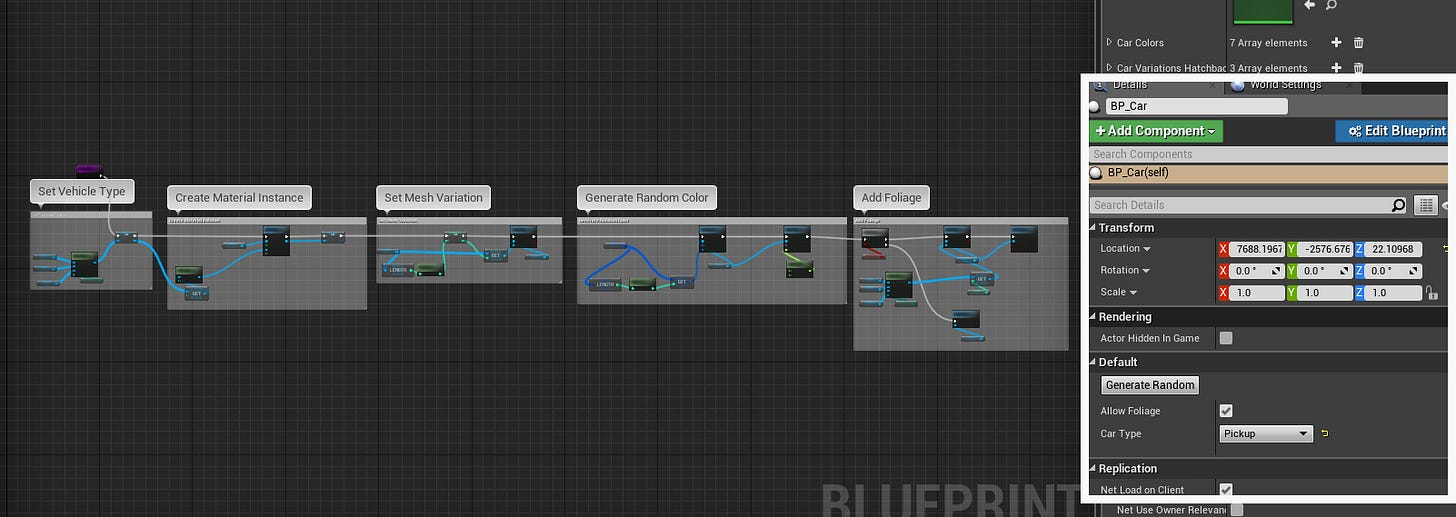
Okay so now the system will give us a random car mesh based on the CarType enum. Now we want to give user an option to enable or disable that foliage mesh. For the foliage mesh there is an array of static meshes because every car mesh variation need to have its own foliage mesh. Logic is pretty much the same here too and depending on the AllowFoliage boolean we will hide that mesh or make it visible. Last but not least we are also making a dynamic material instance so it´s possible to change car color that we are specifying with a color array. All of this is then compressed into a function that we will run with editor event.
Lighting a post apocalyptic scene
Lighting is always a tricky area for me. Usually I work with fully dynamic scenes because the game (Planetrism) we are working on is having large levels so static lighting is out of the question. For this environment I wanted to create a lighting that would give nice results for both exterior and interior areas and that's why I ended up using a static lighting.
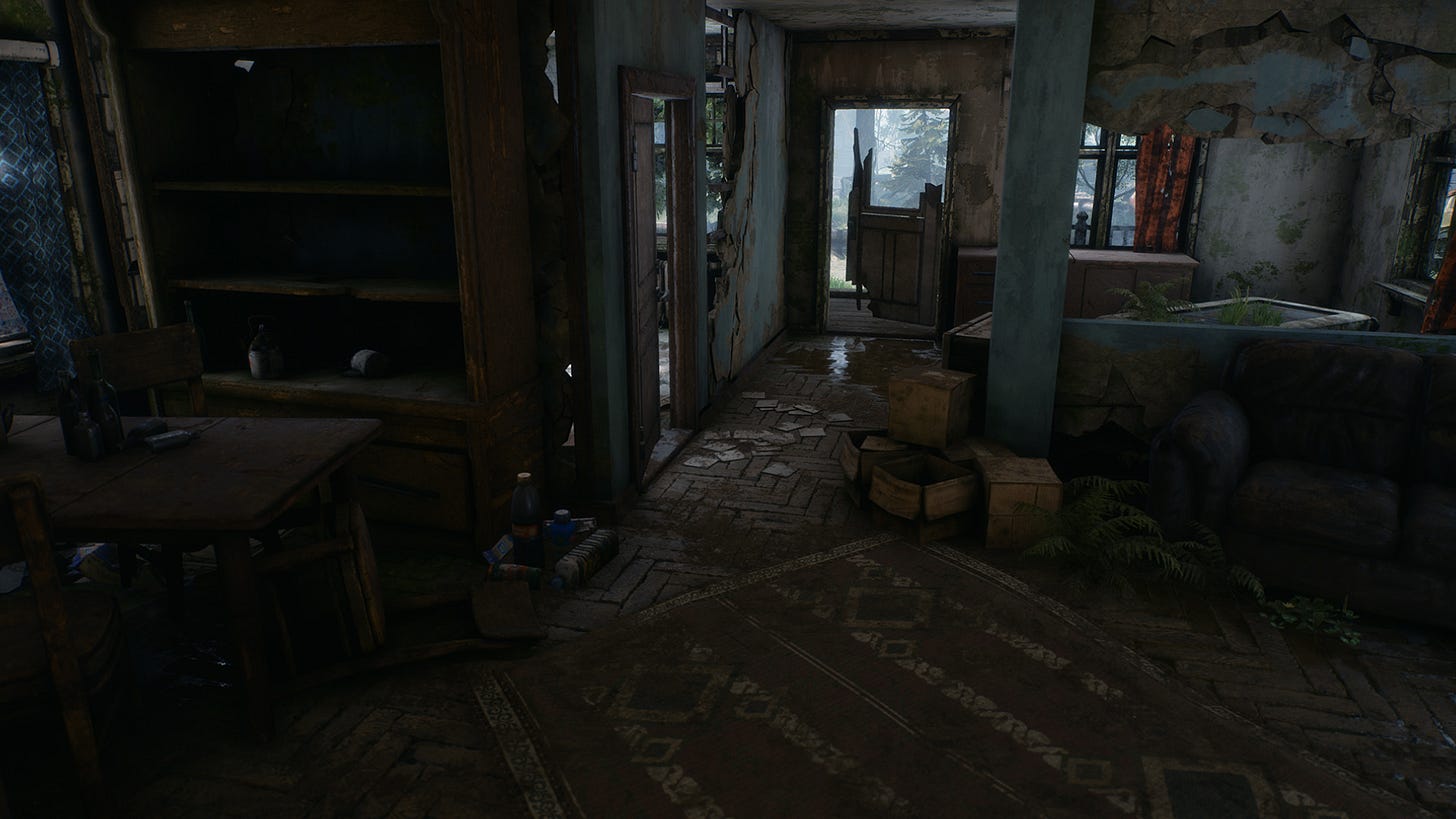
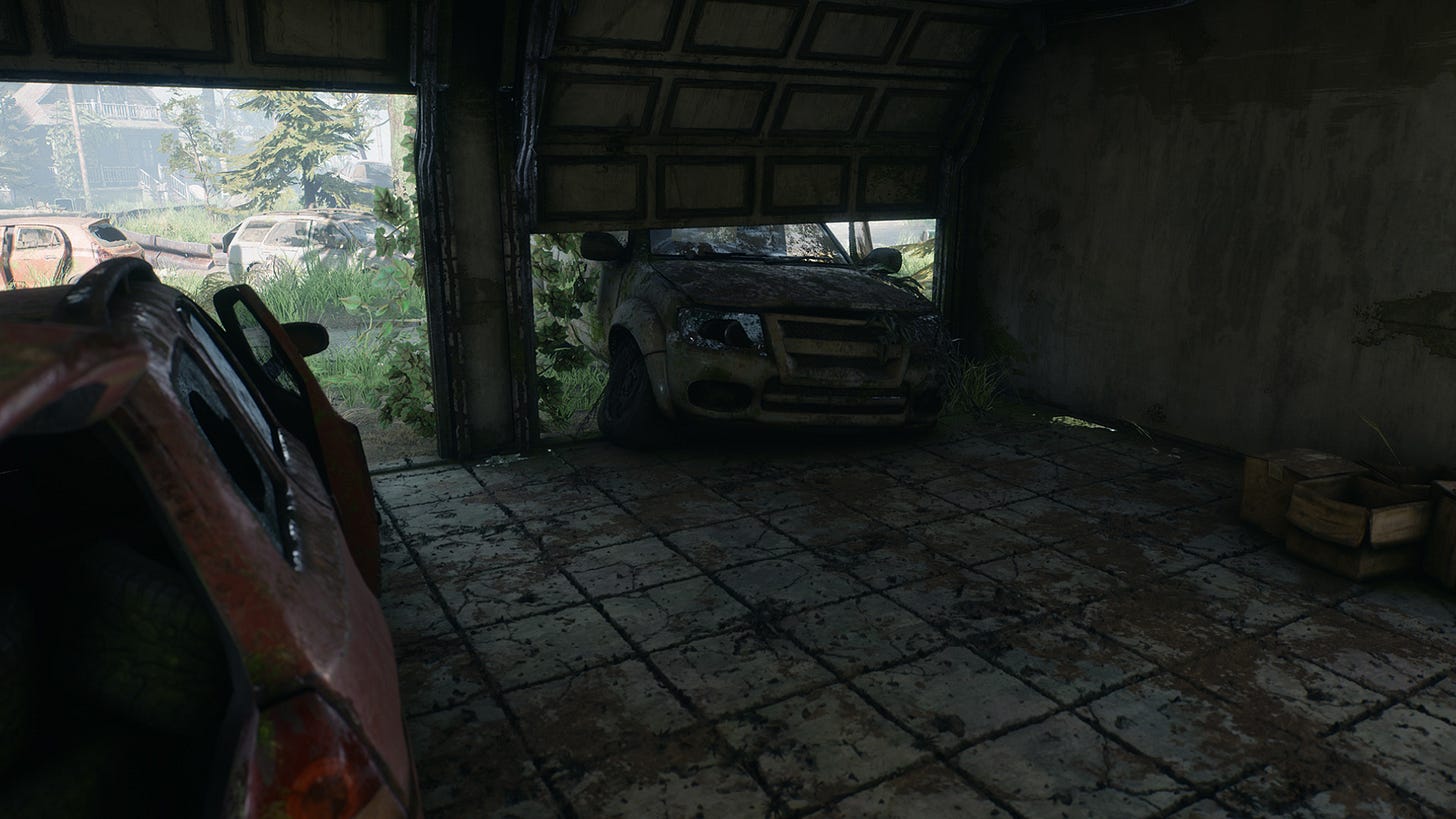
The problem with post apocalyptic scene lighting is a very interesting one. Usually post apocalyptic means a world where electricity doesn´t exist so there will be no artificial light sources and that will result dark areas. Basically the only real light source will be the Sun that will light areas through windows and then that light will scatter its photons to create the indirect lighting. This was one of the reasons why I ended up using static lighting because that will help to solve this issue. With fully dynamic lighting without any real-time GI or ray tracing the light would only contribute the direct lighting and for the interior ambient lighting I would have needed to balance skylight and other things, basically cheat a lot.
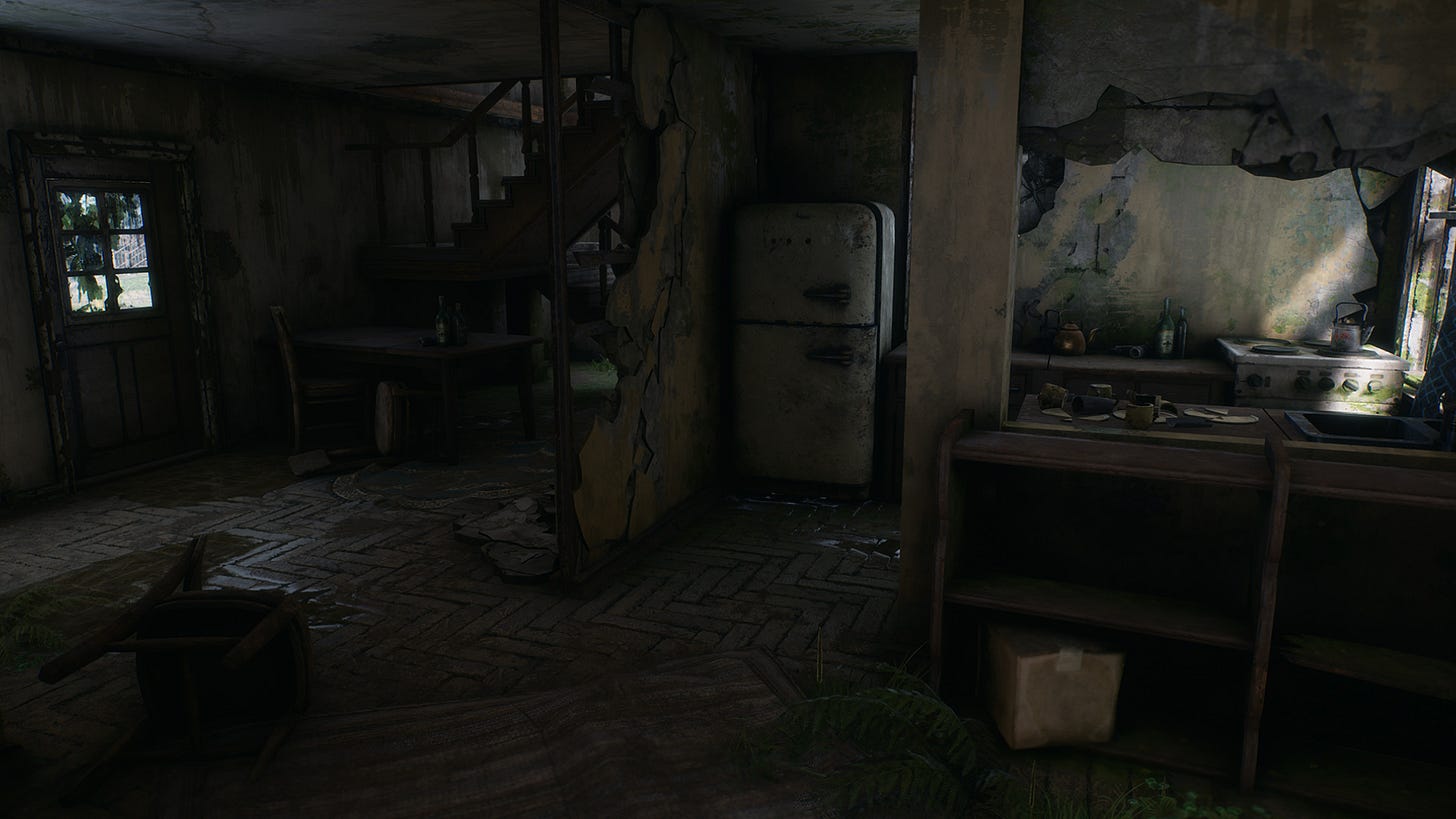
The lighting setup I used consisted of a stationary skylight and a stationary directional light. I also ended up adding a fully static area lights for windows. This gave more ambient kind of light coming through windows and made the indirect lighting more smooth. That is one of the nice parts about static lighting because I can add fully static lights that are affecting the lightmaps but at runtime those lights are completely gone.
Materials
From the early on I knew that materials will be acting a huge role in this environment. I wanted to make a solid system with rules so I could then convert that into material functions and master materials. From there I could then create material instances with some public parameters and switches.
Main idea for structural materials was to have a base material and an option to use another material that I could blend with vertex colors so this way I could create elements that might have broken parts. This was a crucial thing for walls and floors and helped me to create all sort of materials. Adding material switches lowered the instruction counts for materials that didn't need that extra layer.
On top of this base I wanted to have a library of different generic layers like moss, dust, leaves, drips, water and grass layers. I compressed every layer into material function so if I needed to make changes that was also pretty easy to do. I also wanted to have a basic priority/optimizing system so these layers also had cheaper versions inside them that I could use for low priority materials. Usually this cheap path disabled normal and roughness maps.
I made certain rules so dirt and leaves layers were using a world aligned blend and I also made sure that only one of them can be used at the same time to prevent using too many texture samples. Moss layer was using a baked AO from the lightmass and I made some extra control for that. Damage and water layers were using vertex colors.
Common similarity between all of these different blending styles are that they are generating more or less gradient values and that is not looking natural at all. To break this feeling I made a noise texture that I then applied with a world aligned texture node. This is basically a sort of triplanar mapping technique so instead of using the model UVs it will project that texture in world space. This texture was then breaking that gradient so it ended up looking more realistic. Also because it works in world space that meant that the noise was looking different depending on the mesh position in the world. This way same meshes next to each other can have a totally different looking noise and that helps to break the repetitive feeling.
That´s it for now. I want to apologize for the lack of updates lately. I´ve been very busy with different projects and with our game so I needed to prioritize my hours better. I write these newsletters because I want to share some of that knowledge I have gathered during these years and I feel like this would be a nice way for anyone to read that stuff for free. Unfortunately that means that I need to focus more on things that can help me to keep roof over my head so I can´t promise any regular newsletters anymore.
Until next time,
Kimmo K.
You can also find me in the following places too:
UE Marketplace Artstation Twitter Facebook Youtube


